THE ERRANT STITCH
  • HOME
  • About Me
    • Current & Past Works
  • As Seen At...
    • World Maker Faire NYC 2017
    • Buffalo Mini Maker Faire 2018
    • Buffalo Mini Maker Faire 2017
    • Buffalo Mini Maker Faire 2016
    • Rochester Mini Maker Faire 2017
    • Rochester Mini Maker Faire 2016
    • Fredonia Mini Maker Faire 2016
  • Cassette Tape Purses
    • Customization & Fabric Lining Options
  • Cassette-Cycle
    • Cassette-Cycle Cassette Tape Projects >
      • Cassette Tape Tote Bag
      • Cassette Tape Pen Holder
      • Cassette Tape Glow Lamp
      • Cassette Tape Dollhouse
  • Chip Bag Wallets
  • Geeky Jewelry
  • The Errant Blog

VHS Shelves!

5/21/2018

0 Comments

 
Picture

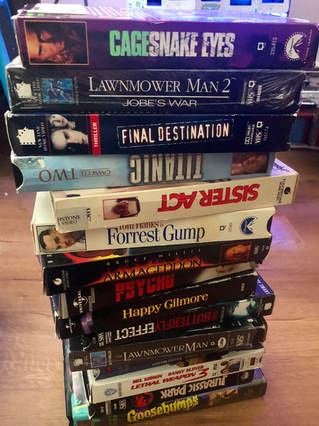
For my first project with VHS tapes, I created shelves with them.  Tapes make great box shapes and are ideal for small shadowbox-type wall shelves.   Simply arrange the tapes in a square shape to make the shelf.  They hang easily with small nails in the wall.  
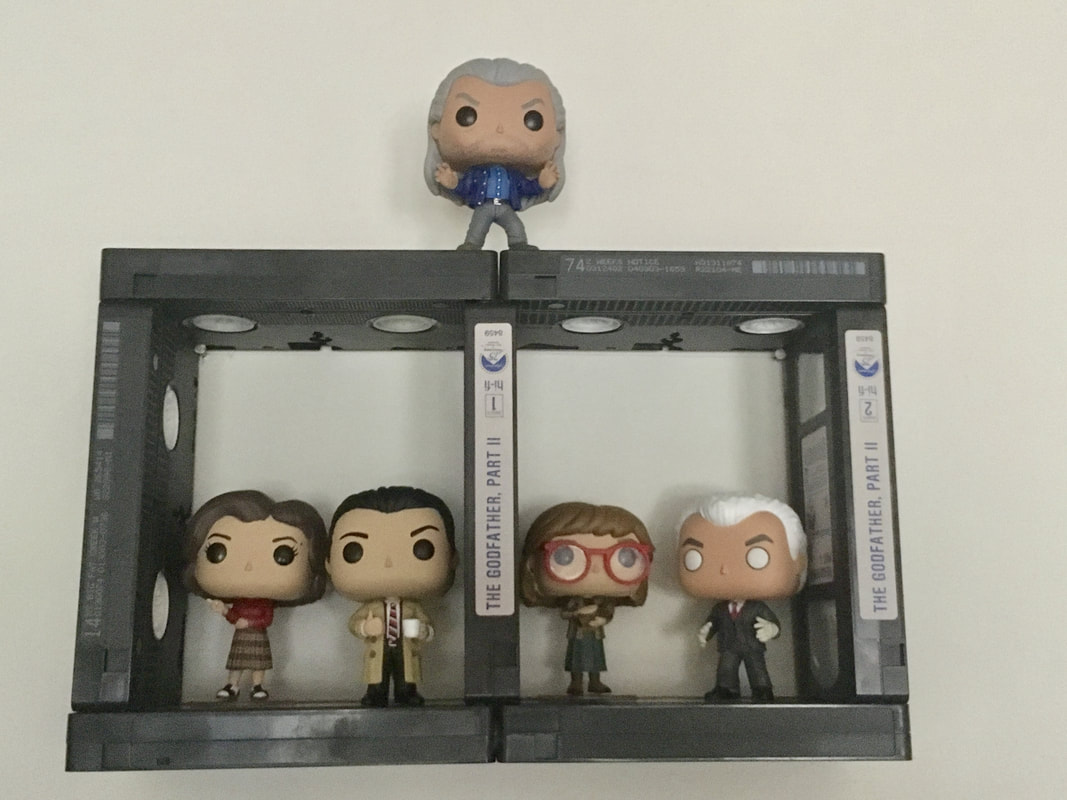
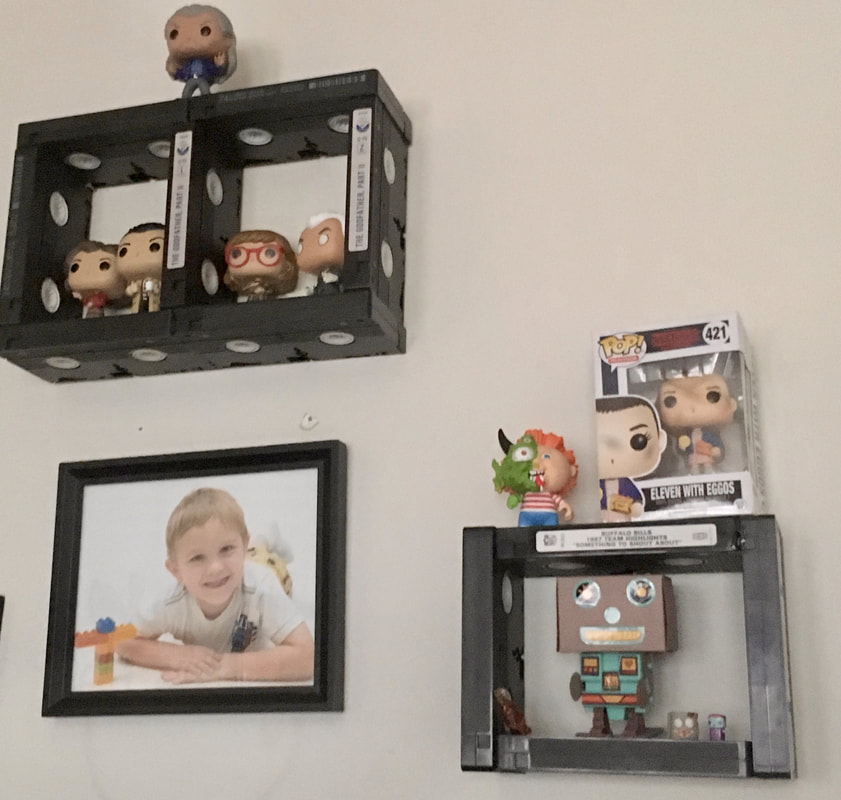
I made the first box shelf to more easily display my Twin Peaks Funko Pop collection and keep it more easily with the rest of the Twin Peaks memorabilia on my living room wall.  
Picture
Picture
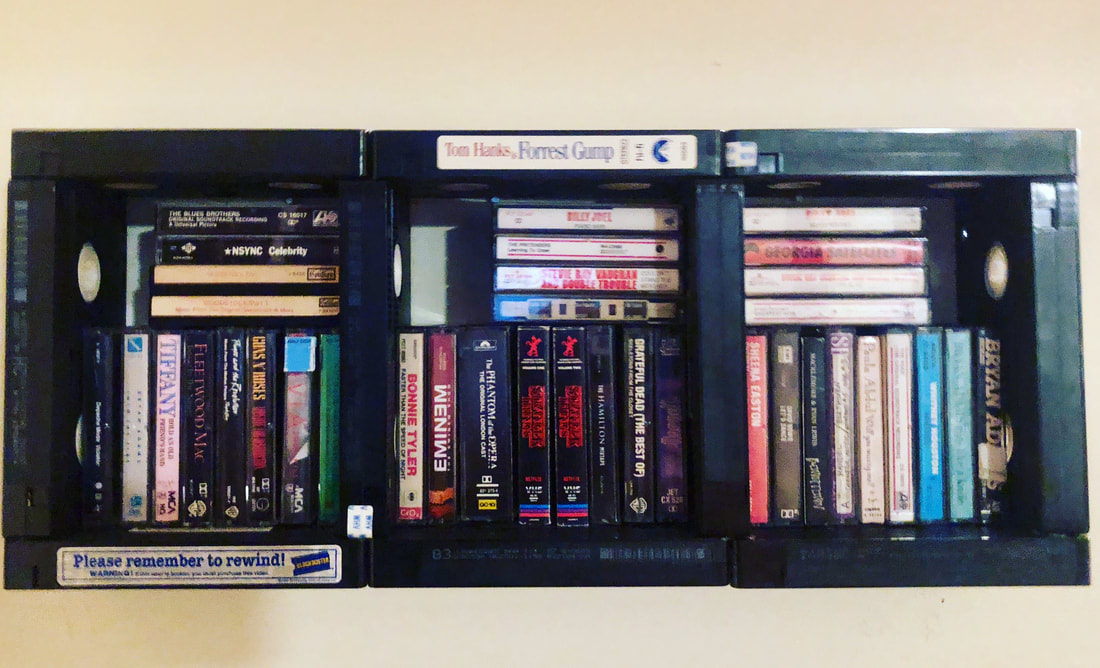
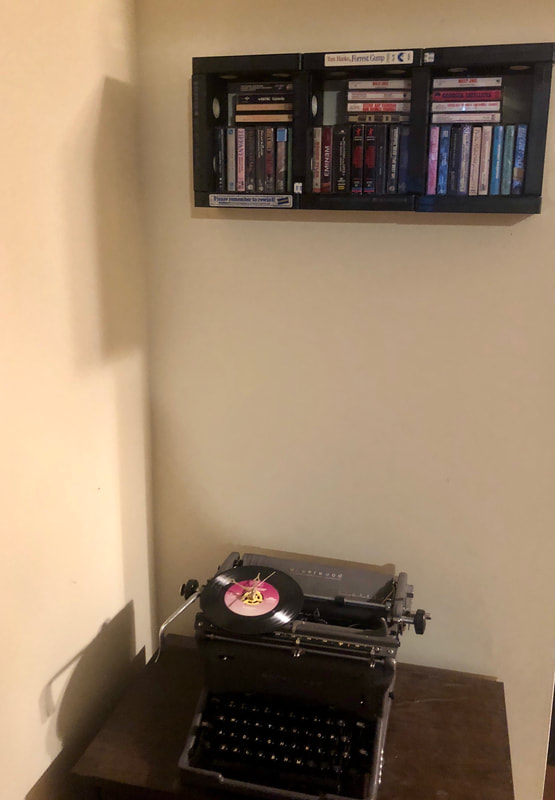
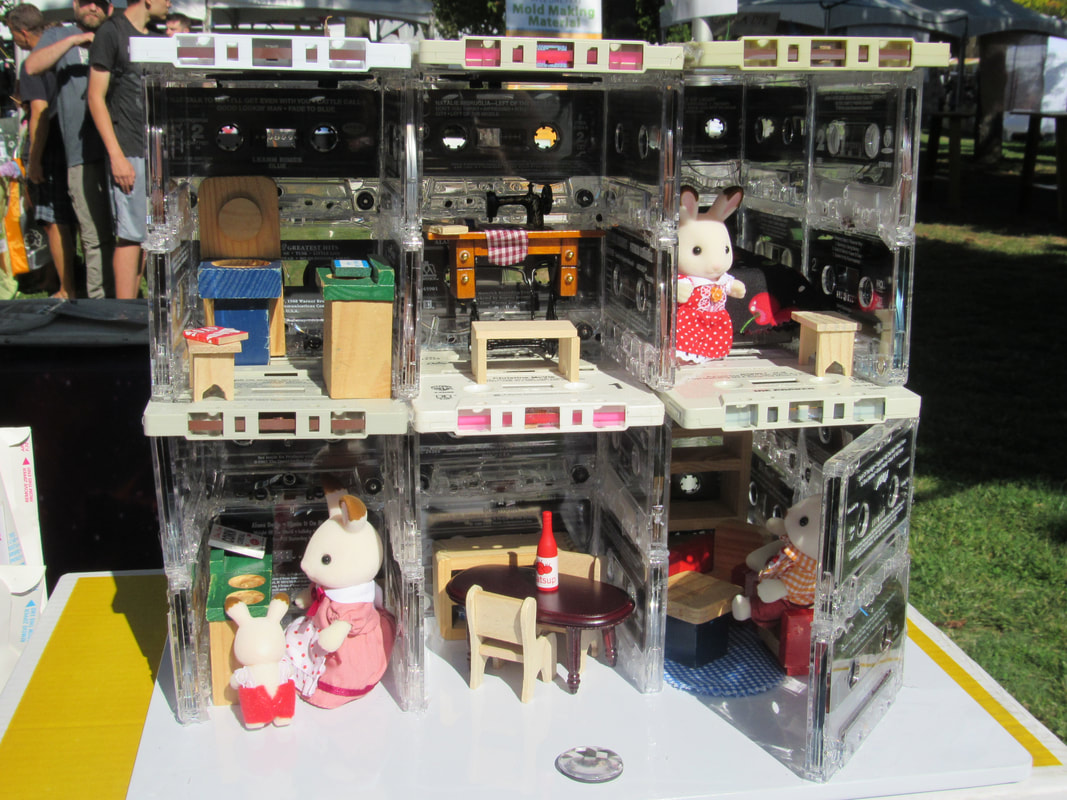
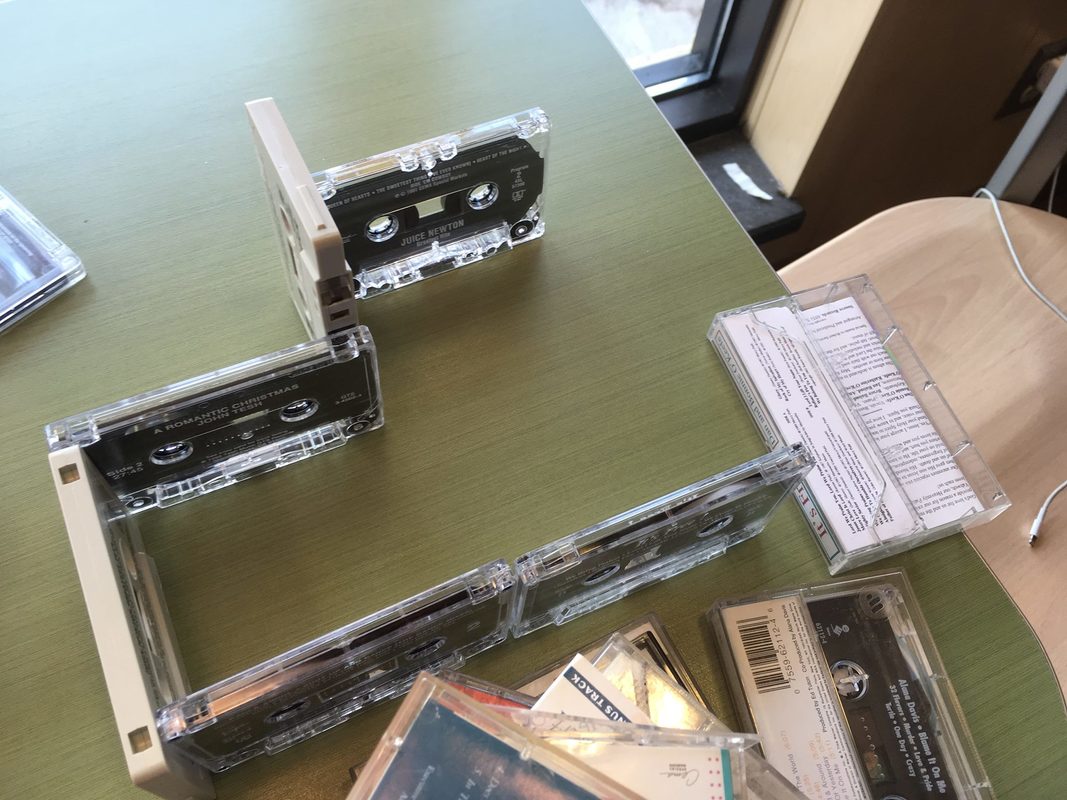
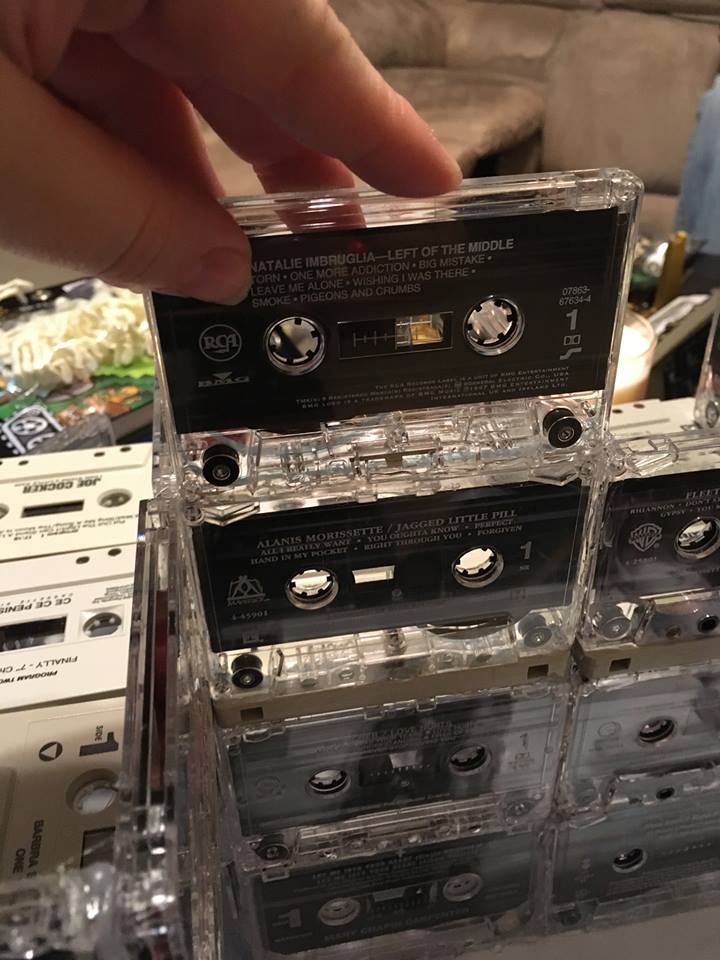
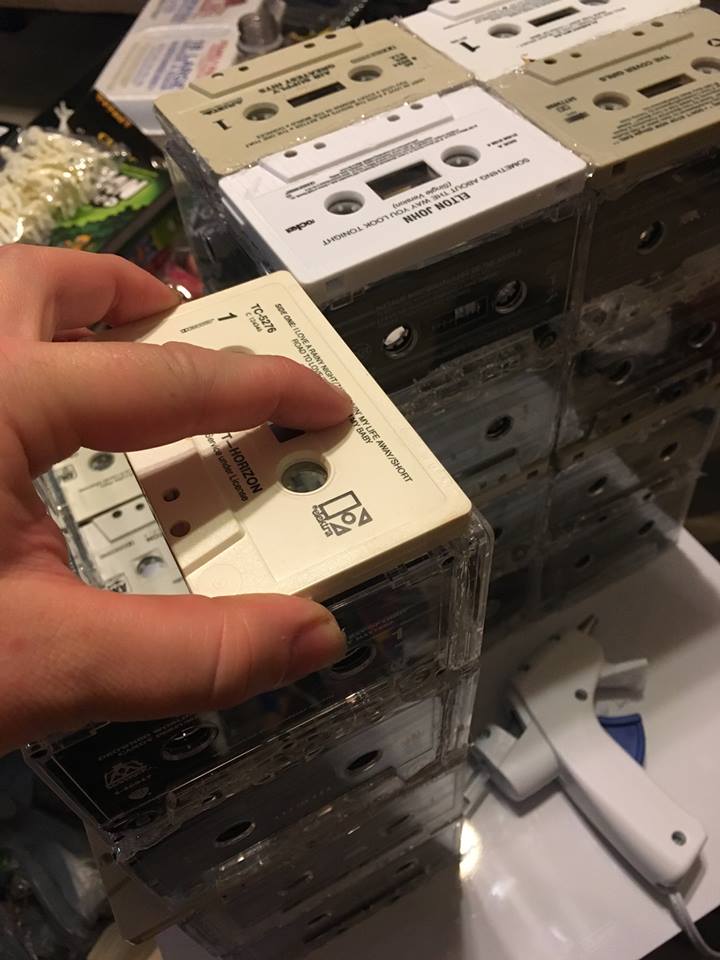
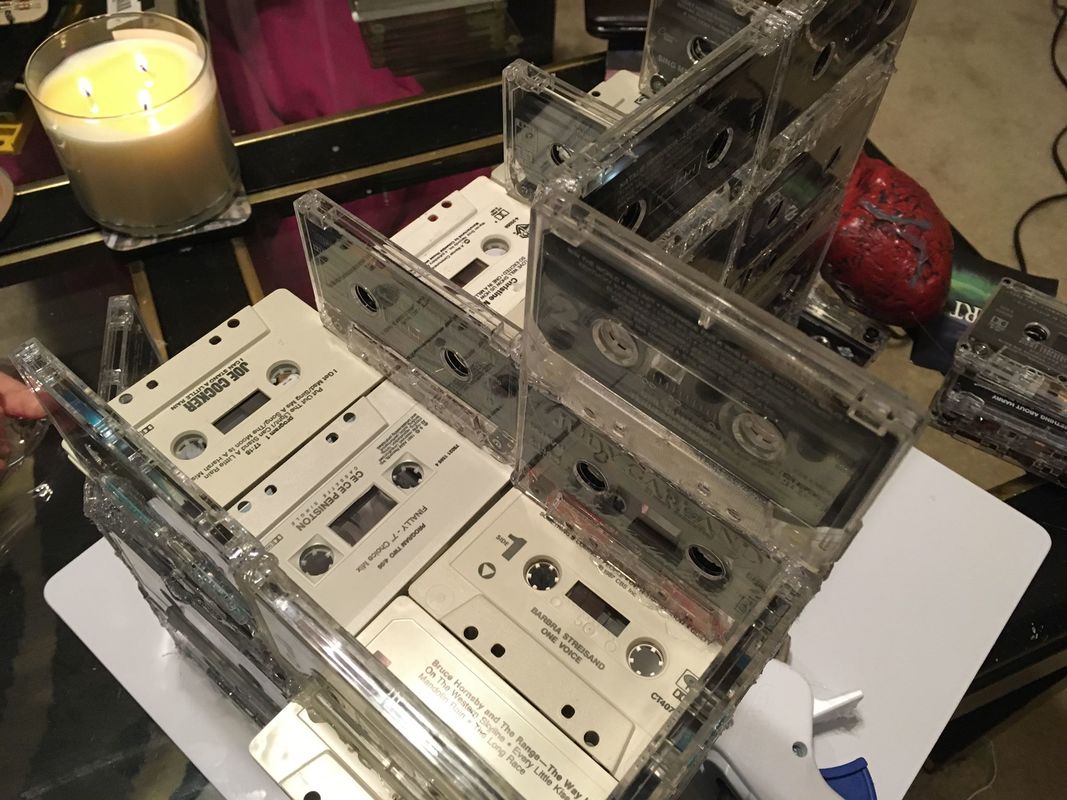
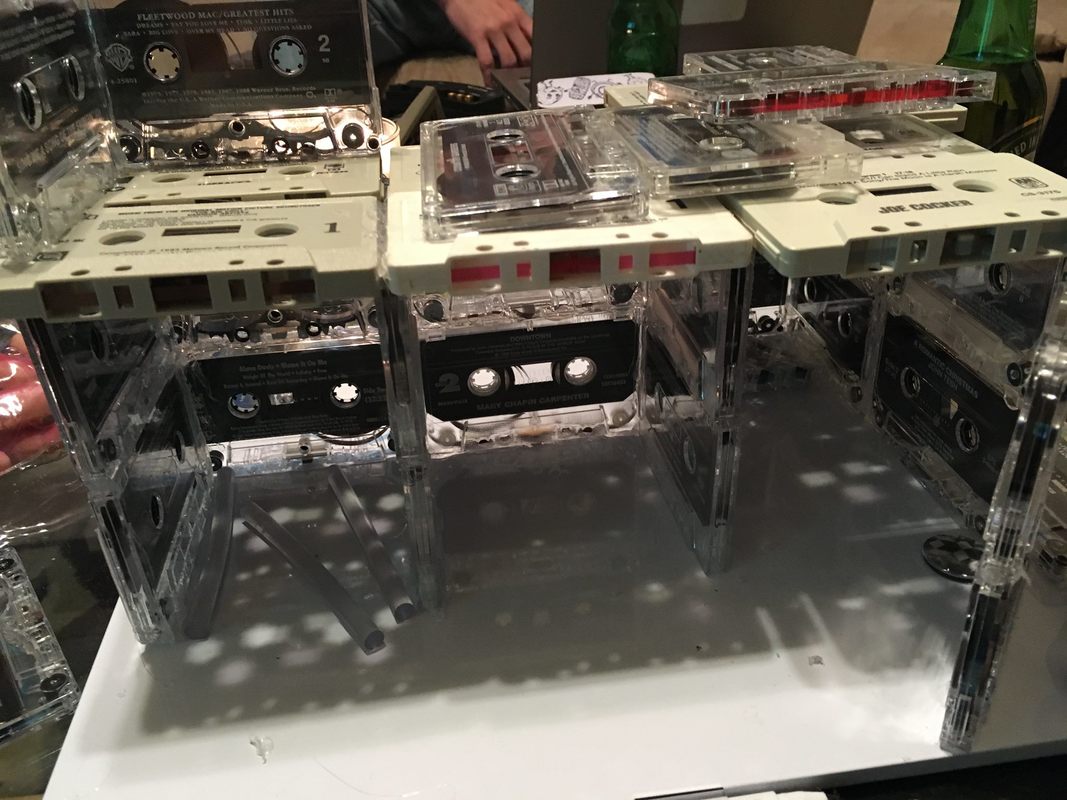
Later on, I needed a rack to display my personal cassette tape collection on (aka the collection that will NEVER be used to make anything from :)), so I built another box shelf that was a little bit bigger.  Unfortunately, I've already run out of room on it....
Picture
Picture
When my Twin Peaks shelf worked out so well, I adapted the idea to be much taller and free standing.  This rack was made from 49 tapes and holds 36 Funko Pop figures.  It is also able to be added on to on the top or the sides as my collection grows.  
Picture
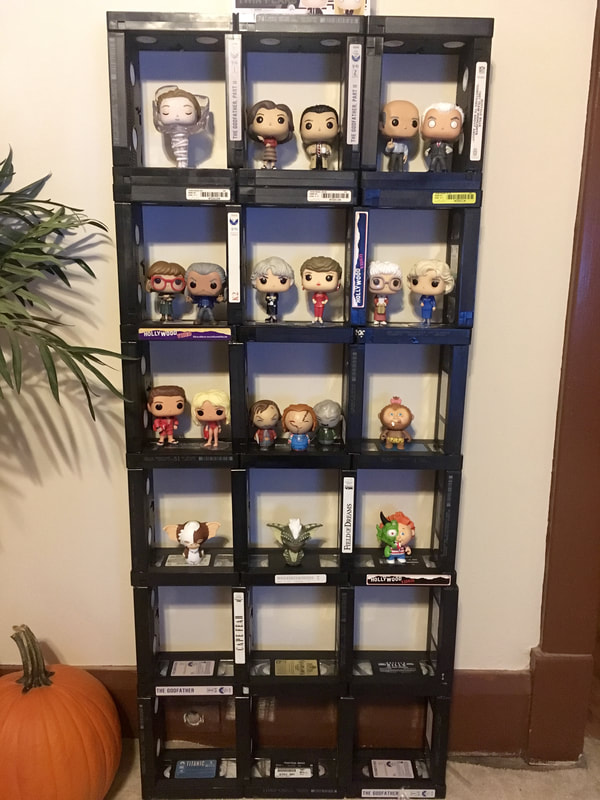
The coolest thing about all these shelves is that they look like regular shelving until you look closer and see the movie labels.  I also try to find videos that were rentals to get more of the retro feels of the glory days of video tapes.   Nothing beats a "Please Be Kind...Rewind" label on the side of your shelf to let everyone know what that particular shelf piece once was.  
0 Comments

VHS...The "Other" Cassette Tape

5/8/2018

0 Comments

 
Picture

Nobody loves me.  That's what VHS tapes currently mean to the world.  Replaced by DVD, Blu-Ray, digital downloads and now Netflix and streaming, masses of videotapes are now left to collect dust in basements, landfills and thrift stores.  Even thrift stores can't get rid of them as VHS sadly didn't even slightly catch on to the "retro cool" nostalgia trend that even audio cassettes got a little of.

When we apply the "building block" concept that Cassette-Cycle is built on, it's a lot easier to see that VHS do have a reuse.   They look just like the big wooden blocks kids build with in kindergarten, are made of sturdy plastic and their innards give each tape some weight.  Also, no grooves on the outside of the tape to have to work or cut around.  This makes for solid and stable construction blocks.  

Not only that but they are black (most of them) so they are subtle enough to blend in, but still look unique upon further inspection.  

With that in mind, I started building...keep reading this blog for my VHS shelves, racks and if all goes well, a coffee table :)  

Let's see what we can build!
0 Comments

Cassette Tape Dollhouse:  The Making

10/10/2017

0 Comments

 
Picture
Picture
My cassette tape dollhouse is a very unique stretch of my imagination.  I am always looking to make new things with cassette tapes.  I noticed that tapes can stack on top of each other like blocks, so I thought to make a project where I actually build with them.  
It's not easy to build with cassette tapes.   There are grooves, sprockets, other lumps and bumps and there is no way to interlock them except with glue.   Because of all of this, it's important to plan your design before you break out the glue gun.  Planning helps you figure out what shape and design your house can realistically take.  Below is one of my planning "sessions."
Picture
Next, we start "building," that is, arranging the cassette tapes as you had planned out (or close to it :)), applying the glue and being careful not to burn yourself!    Place a tape down, glue and continue until the entire first floor is made. 

Be sure to put in the supports to separate the rooms and to help hold up the second floor.  BE VERY CAREFUL and PLAN the supports.  Make sure they measure up correctly and that the floor above will be stable.   
Picture
Lay cassettes down horizontally on top of the walls and supports to form the roof.  Be sure the floor is even at all points.  
Picture
Stack the cassettes again all around the perimeter and build the second story exactly as you had built the first story.  Again, make sure the supports are the proper distance apart.  Lay down the roof on top of the tapes and supports.  Be sure it is even!
Put in a front door with small hinges, if you would like.  Furnish each room and stick LED push lights to the ceiling of each room for a lighted effect.   You now have a very unique piece of decor!
More images from the building of this unique house!   Enjoy!
0 Comments

Building with Cassette Tapes (Diagram)

9/14/2017

0 Comments

 
Picture
Can cassette tapes really be building blocks?  With a little creativity, YES they can!  
For most projects, glue is run on the top, bottom and sides of the cassette tape, but there are a few other areas on the tape that you should be aware of when building.  

1.  Side groove- This groove is on the bottom of both the left and the right sides.  When two side grooves are against each other, the tapes can't get too close together.   If placing two cassettes next to each other, one tape should be right side up and the other should be upside down to fit closest to each other.  

2.  Sprocket- Makes a great window/peephole, and is also a good place to attach zip ties to connect two tapes together.  

​3.  Bottom Groove-  This is like a long, raised platform on the bottom of the cassette.  This part is a good holder for cards, etc. 

0 Comments

Crafting with Chip Bags

7/6/2017

0 Comments

 
Picture
Picture
Picture
A few years ago, a good friend asked me to make him a wallet.  He was a mailman, thus subjected to the elements daily and wanted a sturdy one that would last, possibly out of Tyvek material.  I didn't have Tyvek material but I did have a whole stack of potato chip bags that I was saving.  I also had a roll of heavy duty clear vinyl nearby.  The idea for the potato chip bag wallets was then born!    These wallets are one of my most surprisingly popular items.  

I thought it would be interesting to show how those wallets are made.  Without further ado, here is an inside look on how they come to be.  
First, each bag is thoroughly washed with soap and water, just like a regular dish.   I squirt a little soap in and fill them with water.
Next, I scrub out any leftover grease/crumbs, and rinse the bag out.  
I then cut along the bottom and down the right-hand side of the bag for easier drying and pat it dry.  This cuts down the drying time and the bag dries completely.  
Once the bag is fully dry, I cut out the panel and pocket pieces, per my special and secret pattern.   The pieces are then sewn into vinyl and the wallet is sewn together.  
Picture
These bags can be hard to sew with many machines because of the heavy vinyl.   My Brother machine will gladly sew them, but my vintage Singer will not.  The stitching is always loose and off on the Singer machine.   If you decide to make one of these bags, try a few machines for the best result (or just order from me! :))
0 Comments

    Author

    She is Errant, but not really a stitch.  She is Nikki.  
    I have a love for making unique, one-of-a-kind things, often out of trash.  
    There is nothing better in life than saying "I made this!"

    Archives

    May 2018
    October 2017
    September 2017
    July 2017

    Categories

    All

    RSS Feed

Powered by Create your own unique website with customizable templates.