 |  |
My cassette tape dollhouse is a very unique stretch of my imagination. I am always looking to make new things with cassette tapes. I noticed that tapes can stack on top of each other like blocks, so I thought to make a project where I actually build with them.
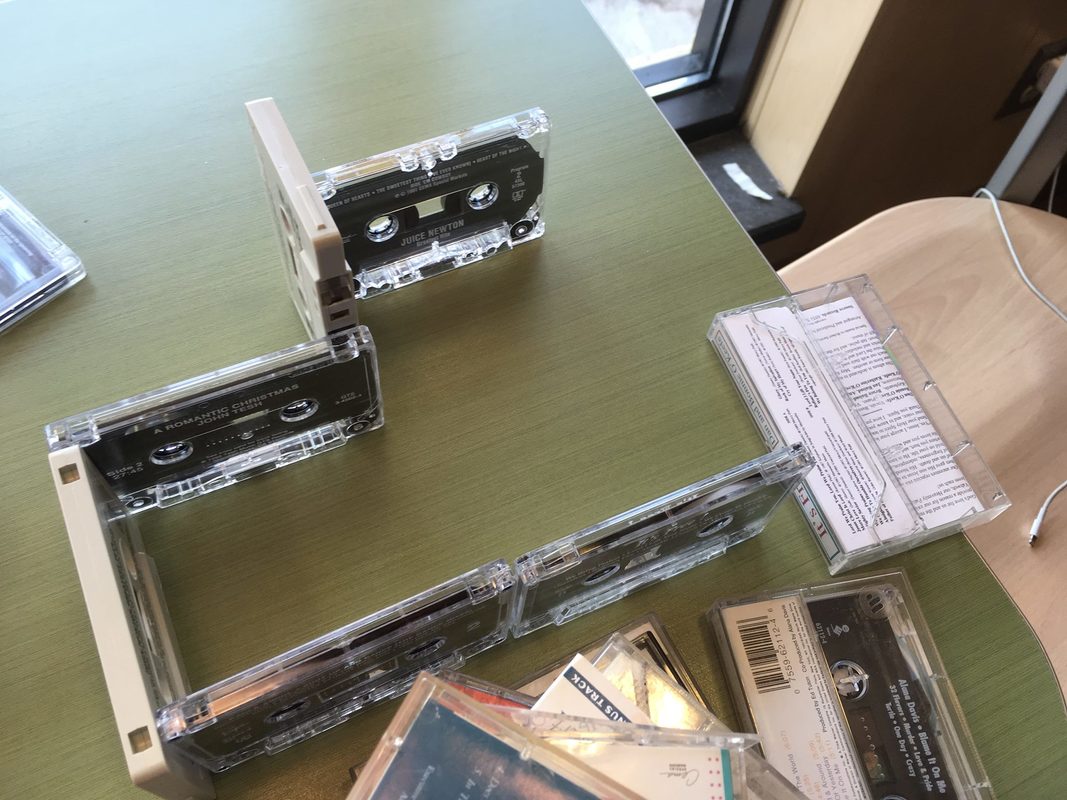
It's not easy to build with cassette tapes. There are grooves, sprockets, other lumps and bumps and there is no way to interlock them except with glue. Because of all of this, it's important to plan your design before you break out the glue gun. Planning helps you figure out what shape and design your house can realistically take. Below is one of my planning "sessions."
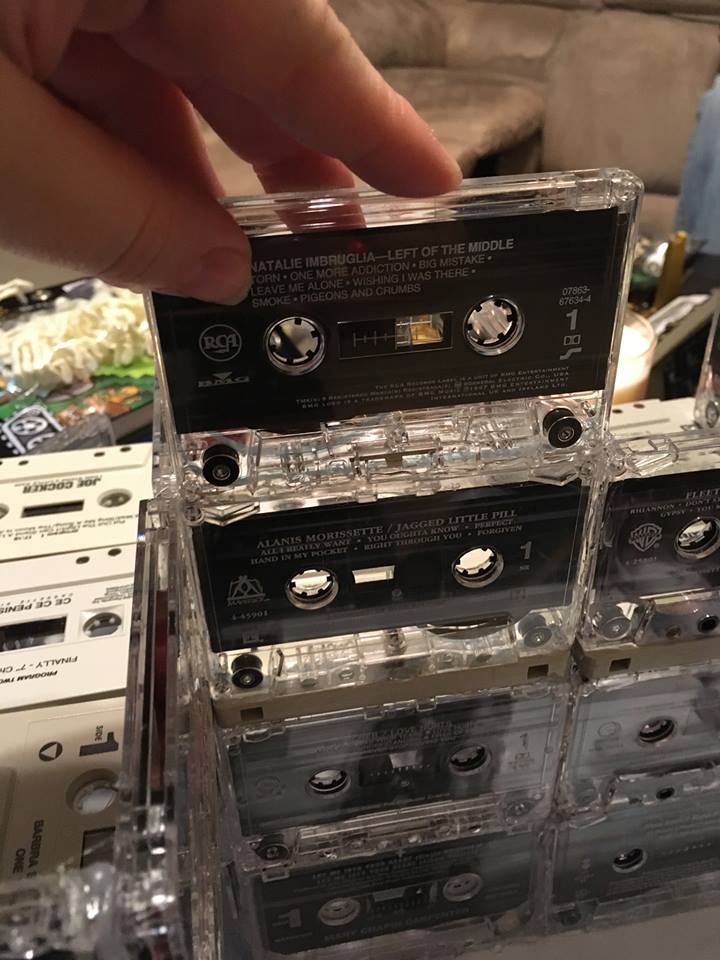
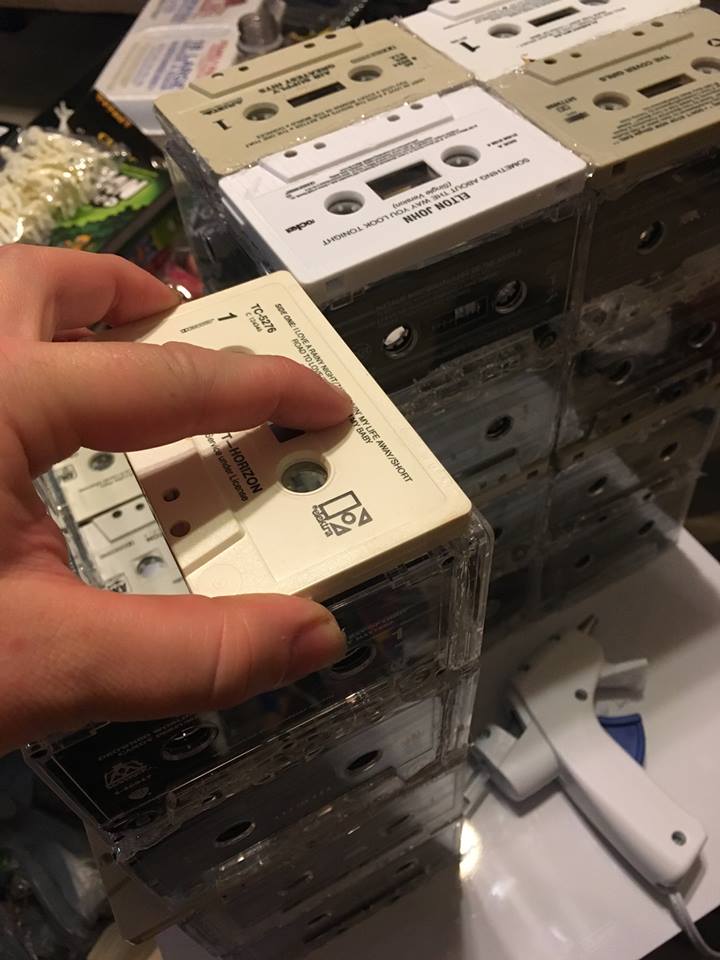
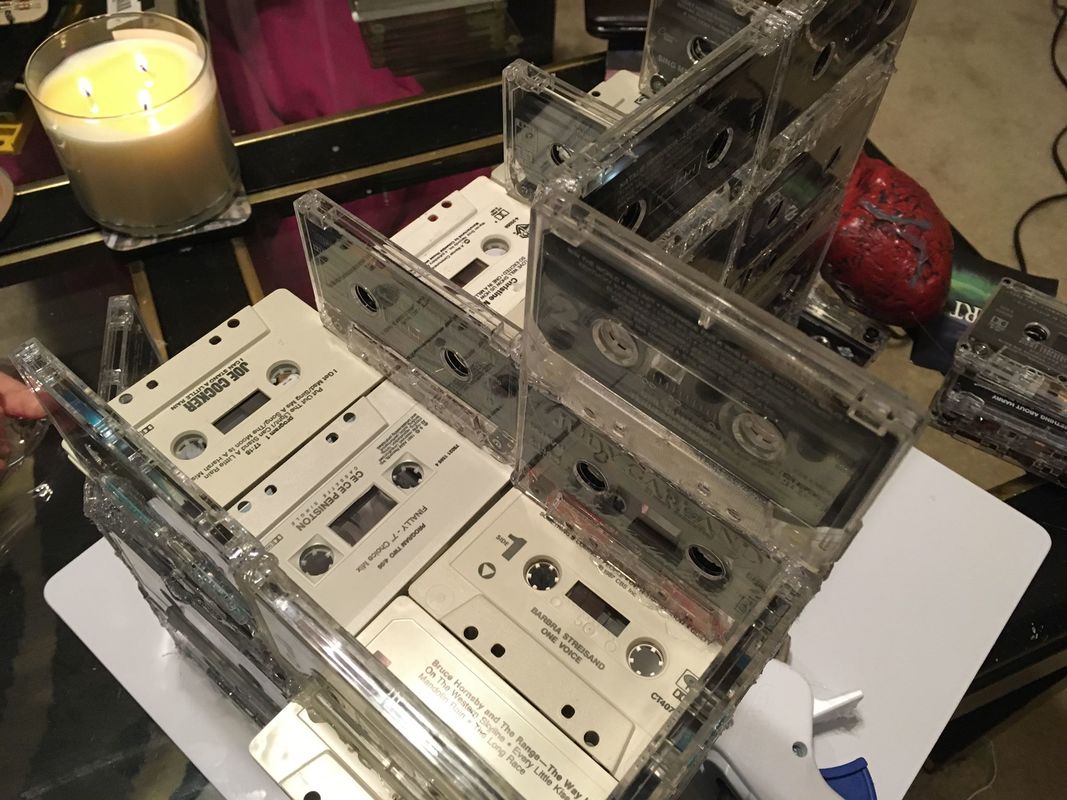
Next, we start "building," that is, arranging the cassette tapes as you had planned out (or close to it :)), applying the glue and being careful not to burn yourself! Place a tape down, glue and continue until the entire first floor is made.
Be sure to put in the supports to separate the rooms and to help hold up the second floor. BE VERY CAREFUL and PLAN the supports. Make sure they measure up correctly and that the floor above will be stable.
Be sure to put in the supports to separate the rooms and to help hold up the second floor. BE VERY CAREFUL and PLAN the supports. Make sure they measure up correctly and that the floor above will be stable.
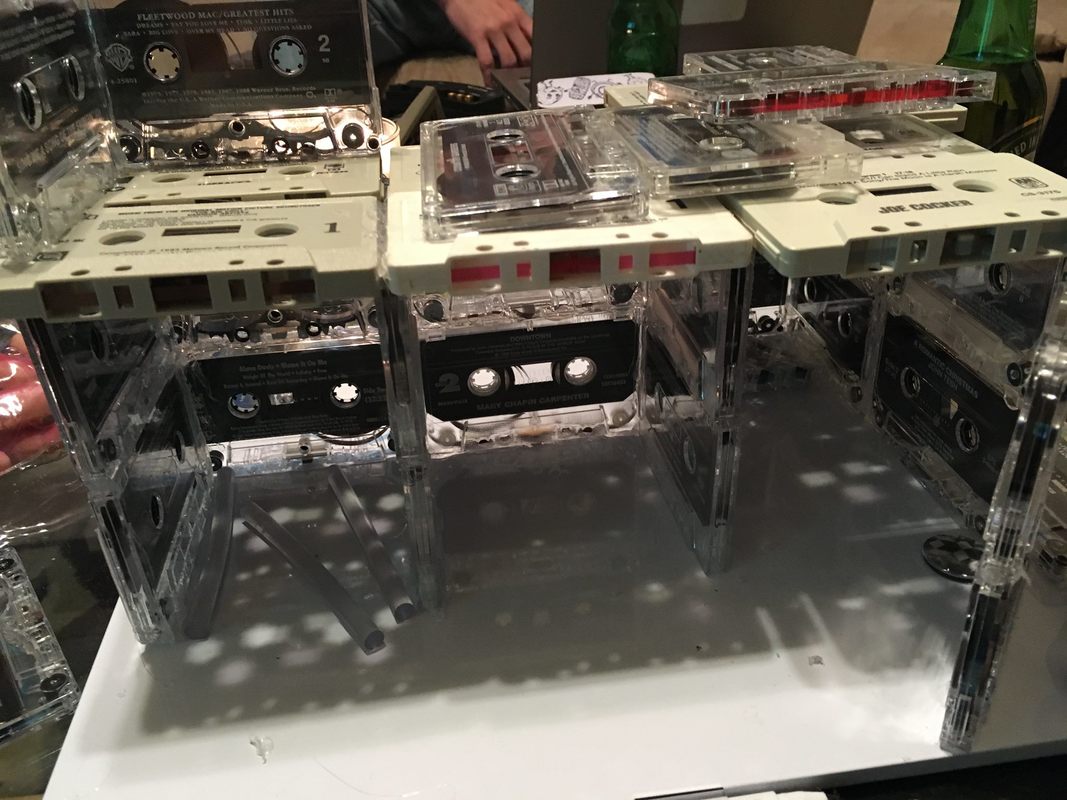
Lay cassettes down horizontally on top of the walls and supports to form the roof. Be sure the floor is even at all points.
Stack the cassettes again all around the perimeter and build the second story exactly as you had built the first story. Again, make sure the supports are the proper distance apart. Lay down the roof on top of the tapes and supports. Be sure it is even!


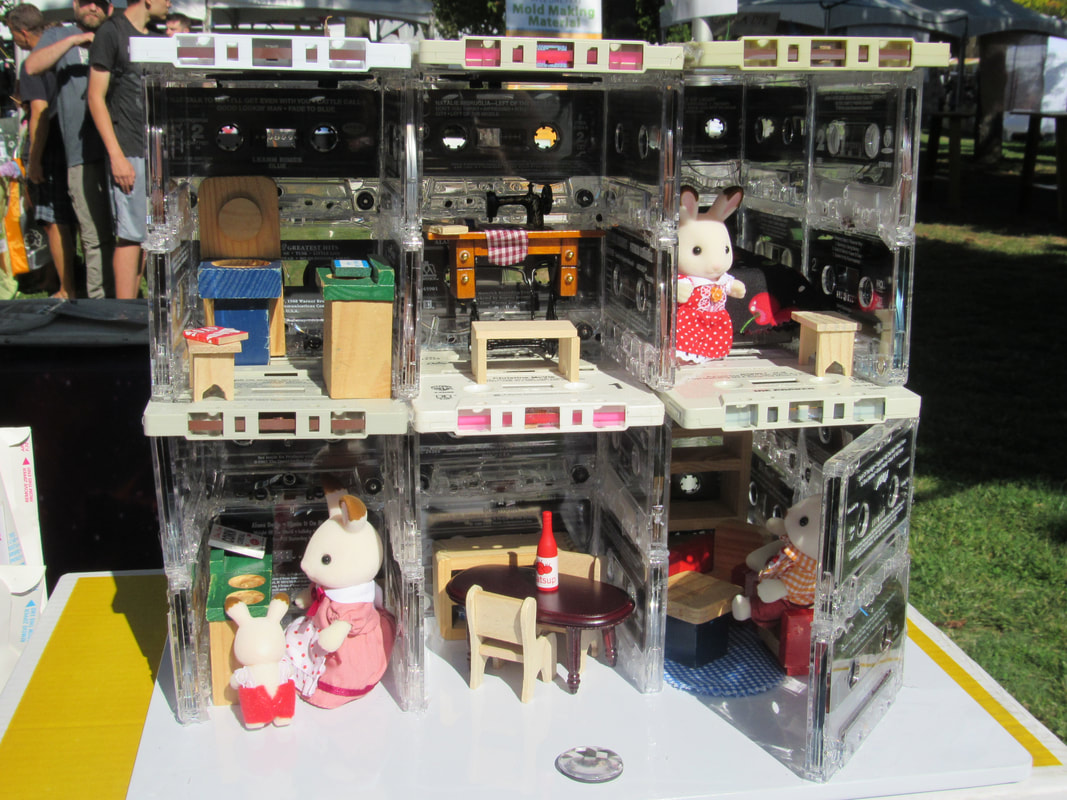
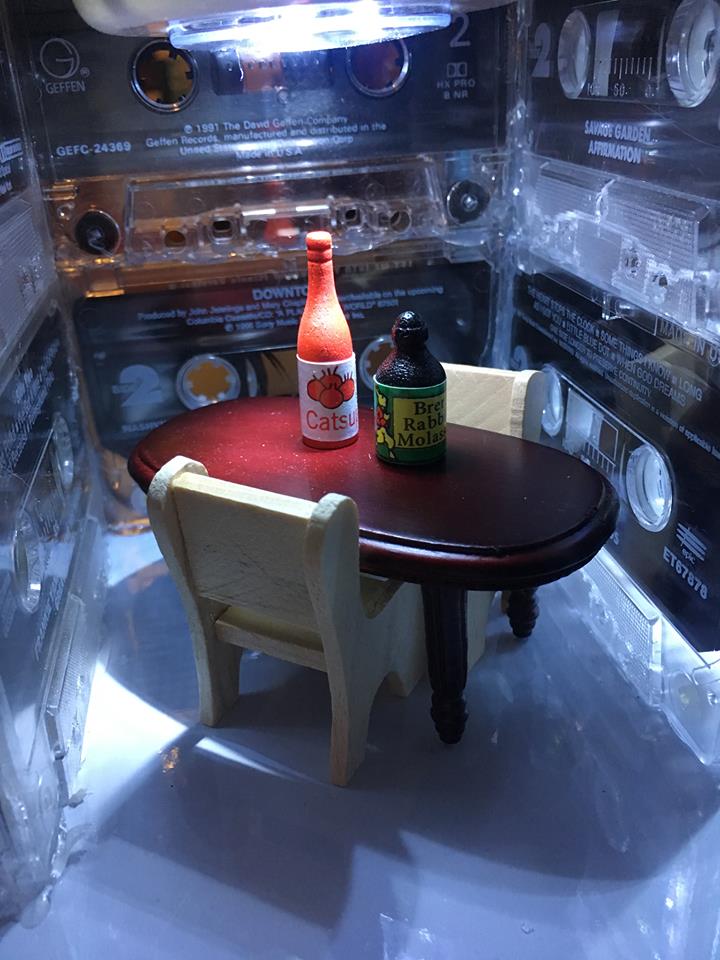
Put in a front door with small hinges, if you would like. Furnish each room and stick LED push lights to the ceiling of each room for a lighted effect. You now have a very unique piece of decor!

More images from the building of this unique house! Enjoy!

 RSS Feed
